Make a map before buying an adapter
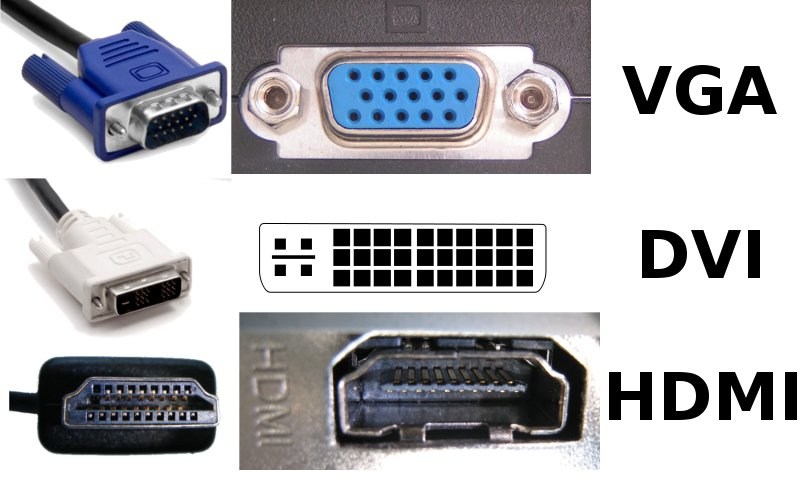
Write down the laptop model, the monitor model and the ports on each. Use the manuals to identify functions rather than judging only by shape. A USB-C socket might carry data, charging, video or a combination. An HDMI or DisplayPort connection also needs to support the display mode you want through the complete route.
Draw the proposed path: laptop, cable or adapter, then monitor. If there is a dock, include it as a separate step. For every step, check the supported resolution and refresh rate in the direction you intend to use. An adapter that converts one direction is not automatically reversible.
Separate video from charging
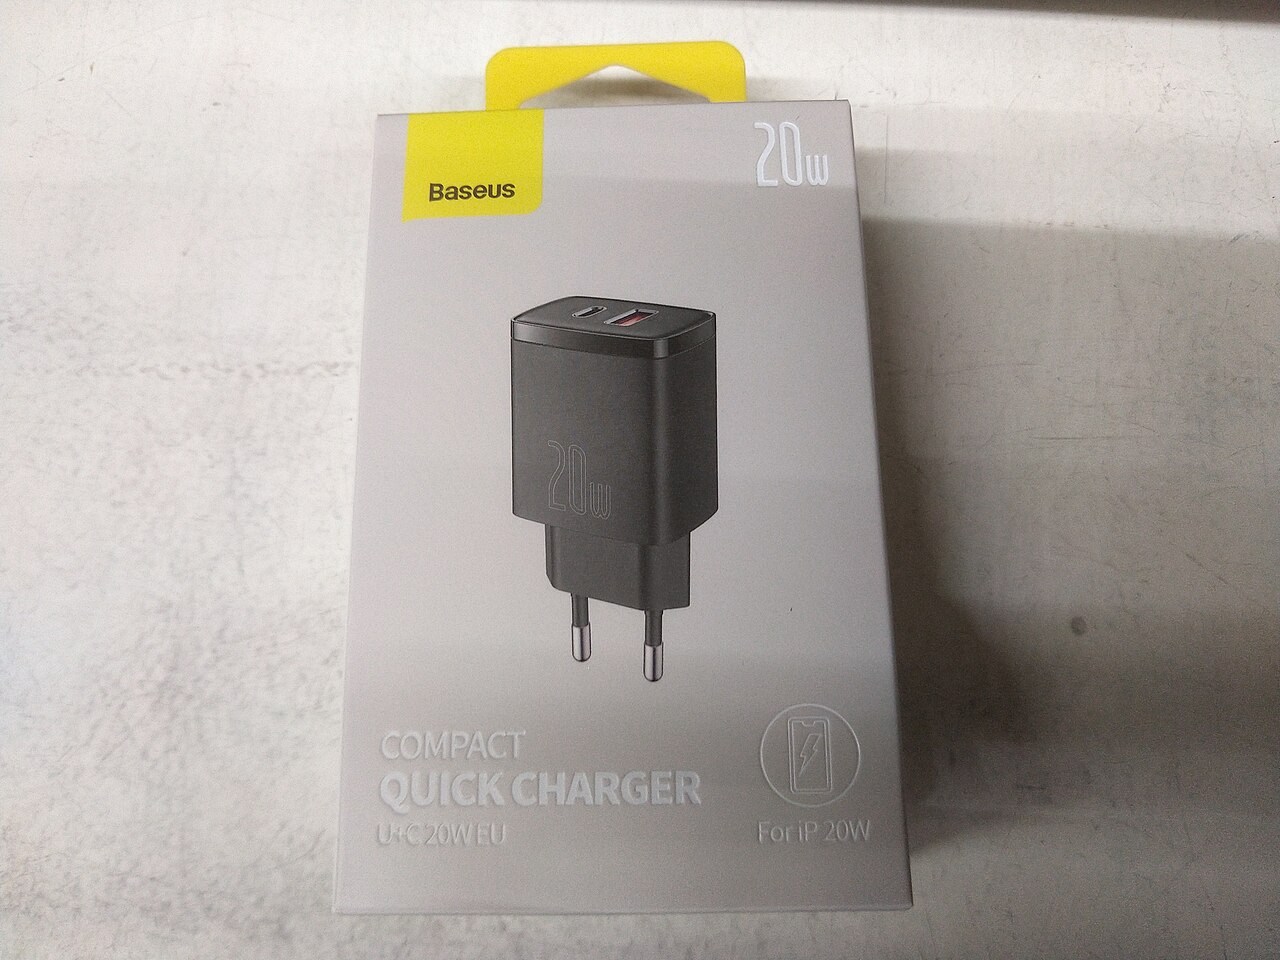
A monitor offering laptop charging over USB-C can reduce cable clutter, but the laptop must accept that arrangement and the monitor must deliver sufficient power. Read the delivered-power figure rather than assuming any USB-C monitor can replace the original adapter. A demanding laptop may still require its own power supply.
The monitor's USB hub can introduce another connection requirement. With some arrangements, video arrives through HDMI while a separate upstream USB cable links the hub to the computer. Plugging a keyboard into the monitor does not make it visible to the laptop unless the relevant data route is also connected.
Check the exact display mode
Resolution and refresh rate belong together. A combination supported at one resolution may not be available at another. The laptop, adapter, cable and display all need to support the selected mode. If a product page says only that it supports a high resolution, look for the associated refresh rate and conditions.
For two screens, distinguish between mirroring and extending the desktop. Check the laptop's external-display limits and the operating system's support for the proposed connection method. Two physical outputs on a dock do not settle that question. Read a configuration table that matches your machine where one is provided.
Look at the physical installation
Ports facing down can be awkward to reach once a monitor is against a wall. Leave room for plugs and the bend of the cable. A heavy adapter hanging from a small port can make the arrangement less secure. Plan support and routing without pulling connectors sideways or forcing a sharp bend.
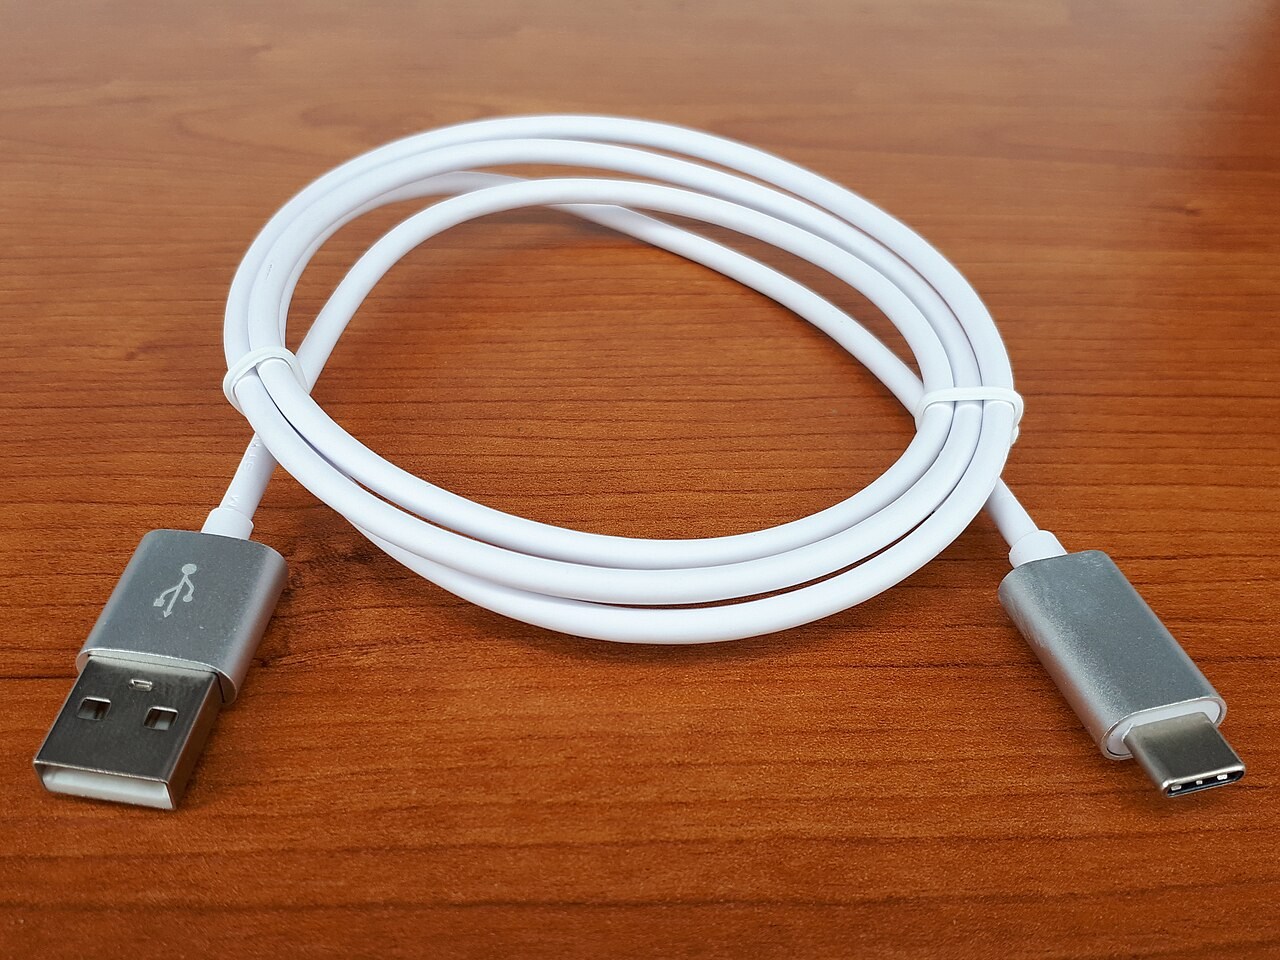
Check which cable is actually included in the box. A display photograph may show an ideal single-cable arrangement without supplying the cable required for your laptop. Add the correct items to the price comparison, including any separately sold power supply for a dock.
Use a simple fault-isolation sequence
If a previously working setup goes blank after changing a cable, begin with that change. Restore the known cable and confirm the monitor input. If the display returns, compare the replacement cable specifications before changing drivers or buying another adapter. This isolates one difference without disturbing a working configuration elsewhere.
If the monitor shows its own menu but no computer picture, the panel is at least displaying its internal interface; that does not prove the external signal path is correct. Check the selected input, the laptop display settings and a supported direct route where available. Keep the same monitor and laptop while testing a single intermediate component.
A written connection map is especially useful on a shared desk. Mark which USB-C socket carries video and which cable belongs to the dock. These notes need not be elaborate. Their value is making a successful arrangement repeatable after someone unplugs the laptop, rather than turning every reconnection into fresh trial and error.
Test one connection at a time
Start with the simplest supported route and select the correct input on the monitor. Confirm that the operating system detects the display, then set a supported resolution and refresh rate. Add the dock or other intermediate equipment afterwards if needed. This sequence makes a failure easier to locate than connecting everything at once.
Keep a note of the working ports and cables, especially when several similar USB-C leads are nearby. A later cable swap can remove video support without looking visibly different. The objective is a documented, repeatable connection, not simply a collection of plugs that happen to fit.